Map-Chips USA West and East
General info and comments
Carcassonne Map-Chips was originally released by Hans im Glück in 2019. The rules for Carcassonne Maps - USA West and East were released in 2020.
It is a mini-expansion with different rules for each Carcassonne Map. In the case of Carcassonne Maps - USA West and East, players can take a peek or just venture straight ahead into unknown territories.
Contents
- 15 Map–Chips per map.
It is recommended to play with 110–120 tiles per map, for example with the basic game and the first and second expansions, that is, ![]() Exp. 1 - Inns & Cathedrals and
Exp. 1 - Inns & Cathedrals and ![]() Exp. 2 - Traders & Builders. [1]
Exp. 2 - Traders & Builders. [1]
Rules
Preparation
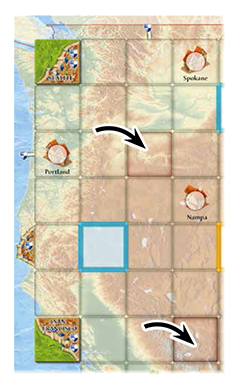
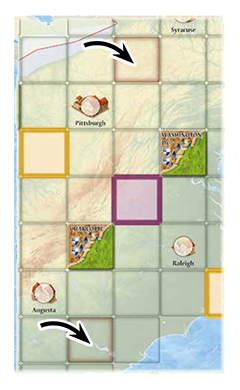
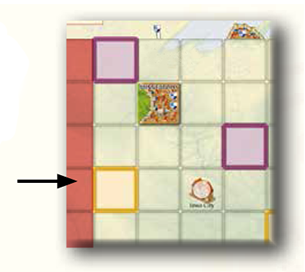
There are two start-squares on each map. They are marked with a brown edging and you should start with both of them. Take the starting tile (with the darker backside) and one random tile, and place them on the 2 start-squares on the map. You start your game by placing your first tile next to these tiles.
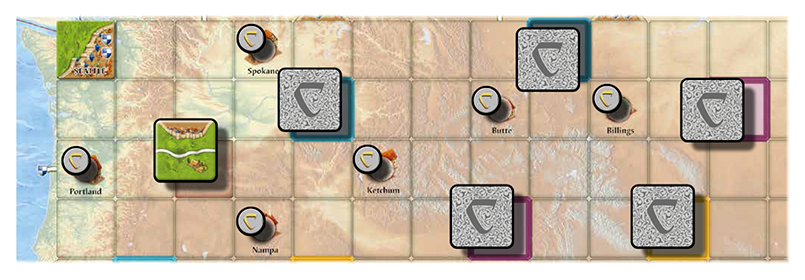
Choose 15 out of the 30 map-chips at random and shuffle them. Next, place one chip, facedown, on each town (indicated by a circle the size of a chip).
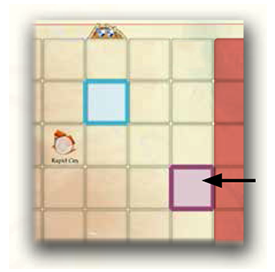
Draw 15 land tiles at random, without looking at them first and place them, facedown, onto the outlined squares (violet, orange, light blue).
Special cases for USA Maps
Playing with only one USA map
If you use only one of the two maps, the half-sized squares on the right side of the USA West Map and on the left side of the USA East Map respectively, are not part of the game. Tiles cannot be placed there.
Playing with both USA maps
You can also play, using both maps at the same time. When doing so, please note the following:
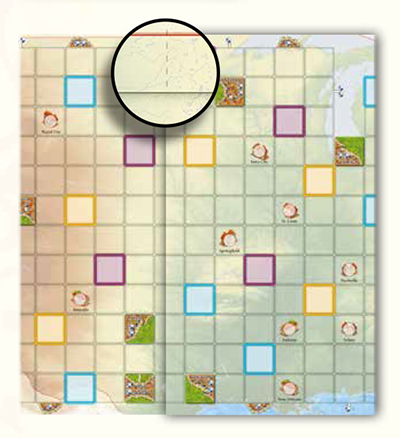
- Slide the USA East Map over the USA West Map until you reach the dotted line and fix them together with adhesive tape.
- As the half-sized squares on the edges of the maps form full-sized squares when using both maps, you may place tiles onto those squares.
- Use twice as many tiles, hence 220-240 tiles.
- Place tiles on all 4 start squares and all 30 outlined squares, and put all 30 map-chips onto the 30 fields marked with a circle.
- The rules remain the same, but keep in mind, that the two maps form one big map. This means, that when flipping over a map-chip, you may look at a covert land tile, even if it is placed on the other half of the big map.
Gameplay
1. Placing a tile
Collecting chips and discovering tiles
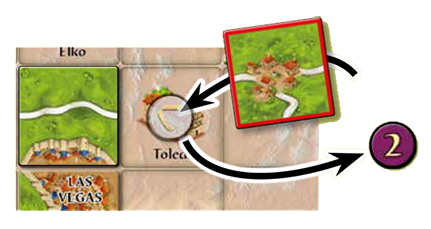
Each time you place a tile on a square with a chip, take this chip, flip it over and immediately receive the respective number of points on the chip (1 or 2). Afterwards, put the chip back into the box, to remove it from the game.
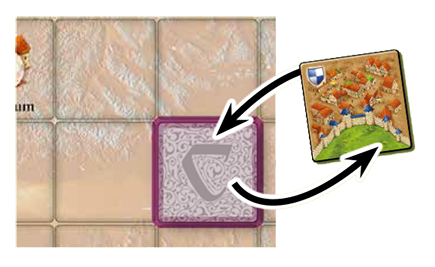
Next, take a facedown land tile, whose outline matches the color of the chip. Look at the front side of the tile but make sure that your fellow players cannot see it. Try to memorize the tile. Now, put it back onto its square, facedown.
You may look at any tile, regardless of its place on the map and whether or not your fellow players have already looked at it, as long as the square's color matches that of the chip.
Placing a tile next to a covert tile
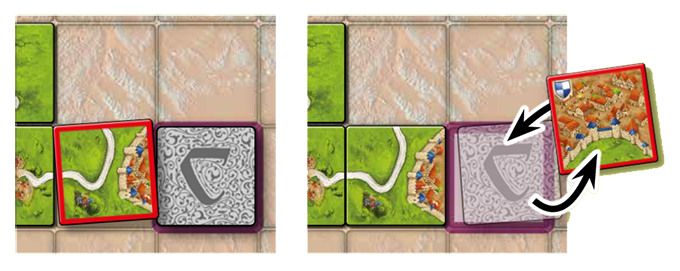
Each time, you place a tile next to a covert tile (meaning that it touches one of its sides and continues the existing landscape), the covert tile is being flipped over for everyone to see. Now, try placing this tile onto its marked square next to the tile which you have just placed (according to the usual rules). You may rotate the (formerly covert) tile in doing so. Now, there are two possibilities:
- You are able to place the tile and receive 2 points.
- You are not able to place the tile and lose 2 points (to be deducted from your score). The tile, which has just been flipped over, is put back into the box and therefore removed from the game.
2. Placing a meeple
You may only place a meeple onto the tile which you have placed first. When flipping over a covert tile and placing it, you cannot place a meeple onto it. [2]
3. Scoring a feature
All features are scored according to the usual rules.
Tile distribution
Footnotes
For Icons explanation and licensing please visit Icons page.
- ↑
 Use 260-280 tiles when playing with the two maps together and Map Chips, since some tiles may be discarded. This would also ensure the central part of the two maps is not left empty. (Thanks to corinthiens13.)
- ↑
 You can place a meeple on the tile just placed, as usual, when connected to the square occupied by a covert tile. However, you cannot place a meeple on the covert tile after flipping it over and placing it successfully.
In terms of turn sequence actions, you only place the tile you just drew. You are not actually placing the covert tile but revealing it, so it just behaves like a printed tile that was hidden to the players but now becomes visible to all the players. This would explain why a meeple cannot be placed on the covert tile. Until this moment, the covert tile placed face down was just reserving a square in the map that could be not occupied by any other tile.

